Migrating Bamboo to Kubernetes
This document explains the process of migrating an existing Bamboo installation to Kubernetes.
Pre-configured resources
- Rook ceph(Block, Filesystem)
- cert-manager
- Nginx ingress controller
- DB(PostgreSQL)
Helm Chart
Version: v3.17.3(GoVersion: go1.23.7)
Add the Helm chart repository
helm repo add atlassian-data-center \
  https://atlassian.github.io/data-center-helm-charts
Check Atlassian product version with chart version
helm search repo atlassian-data-center/bambooGet values.yaml command
helm show values altassian-data-center/bamboo --version 1.21.1 > values.yamlEditing values.yaml
Modify according to your configuration.
Create namespace
kubectl create ns atlassianDeploy helm chart
Bamboo version: 9.6.11
helm install bamboo \
 atlassian-data-center/bamboo \
 -f values.yaml \
 -n atlassian \
 --version 1.21.1
Edit Bamboo statefulset scale
kubectl scale statefulset --replicas 0 -n atlassian bamboo0 immediately after deploying the Bamboo Helm chart?"To prepare for migration by creating an empty Persistent Volume (PV), similar to the guides for Jira, Confluence, Bitbucket and Crowd.
The initial setup screen does not appear, so the replicas are immediately set to
0.Data Migration
Process for importing existing application data and using it in the existing environment
Migration strategy
- Bamboo deploy(replicas=1 → replicas=0) with empty data(application-data, shared-home)
- Deploying a BusyBox pod with Bamboo's local-home and shared-home mounted (I used a Debian image instead of BusyBox, as I’m more familiar with it)
- Get the application-data directory from the as-is Bamboo instance and rsync it into the Bamboo volume using a BusyBox pod
- Get the shared-home directory from the as-is Bamboo instance and rsync it into the Bamboo volume using a BusyBox pod
- Rescale Bamboo statefulset(
replicas=0→replicas=1) - Check Bamboo data
- Rescale Bamboo statefulset(final replicasCount)
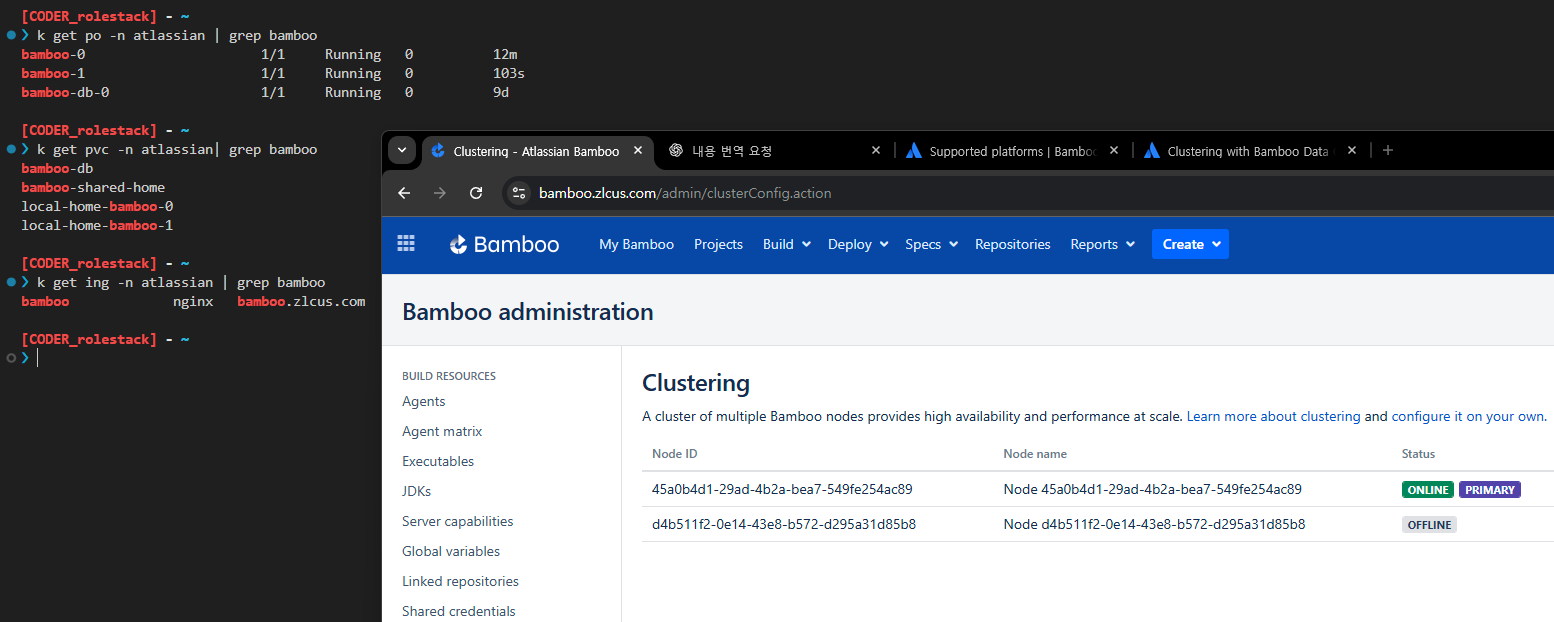
Why Multiple Bamboo Pods Don’t Appear in the Cluster List?
Atlassian explains it as follows:
At present Bamboo Data Center utilizes an active-passive clustering model. This architecture is not ideal where K8s deployments are concerned.
At present, Bamboo server cluster sizes comprising only1pod is the only supported topology for now.
Therefore, in this post, I’ll explain how to manually add cluster nodes.
(Even if you add cluster nodes manually, the settings are preserved as long as you apply a retain policy to the PVC)
How to Configure the N‑th Bamboo Node in the Cluster (Excluding the First Node)
- On Node 1: Execute commands to copy the contents of the
bamboo.cfg.xmlfile - On Node N: Execute commands to paste the copied contents into the
bamboo.cfg.xmlfile - Restart the Pod: To apply the changes, delete the N‑th node’s pod using
kubectl delete pod
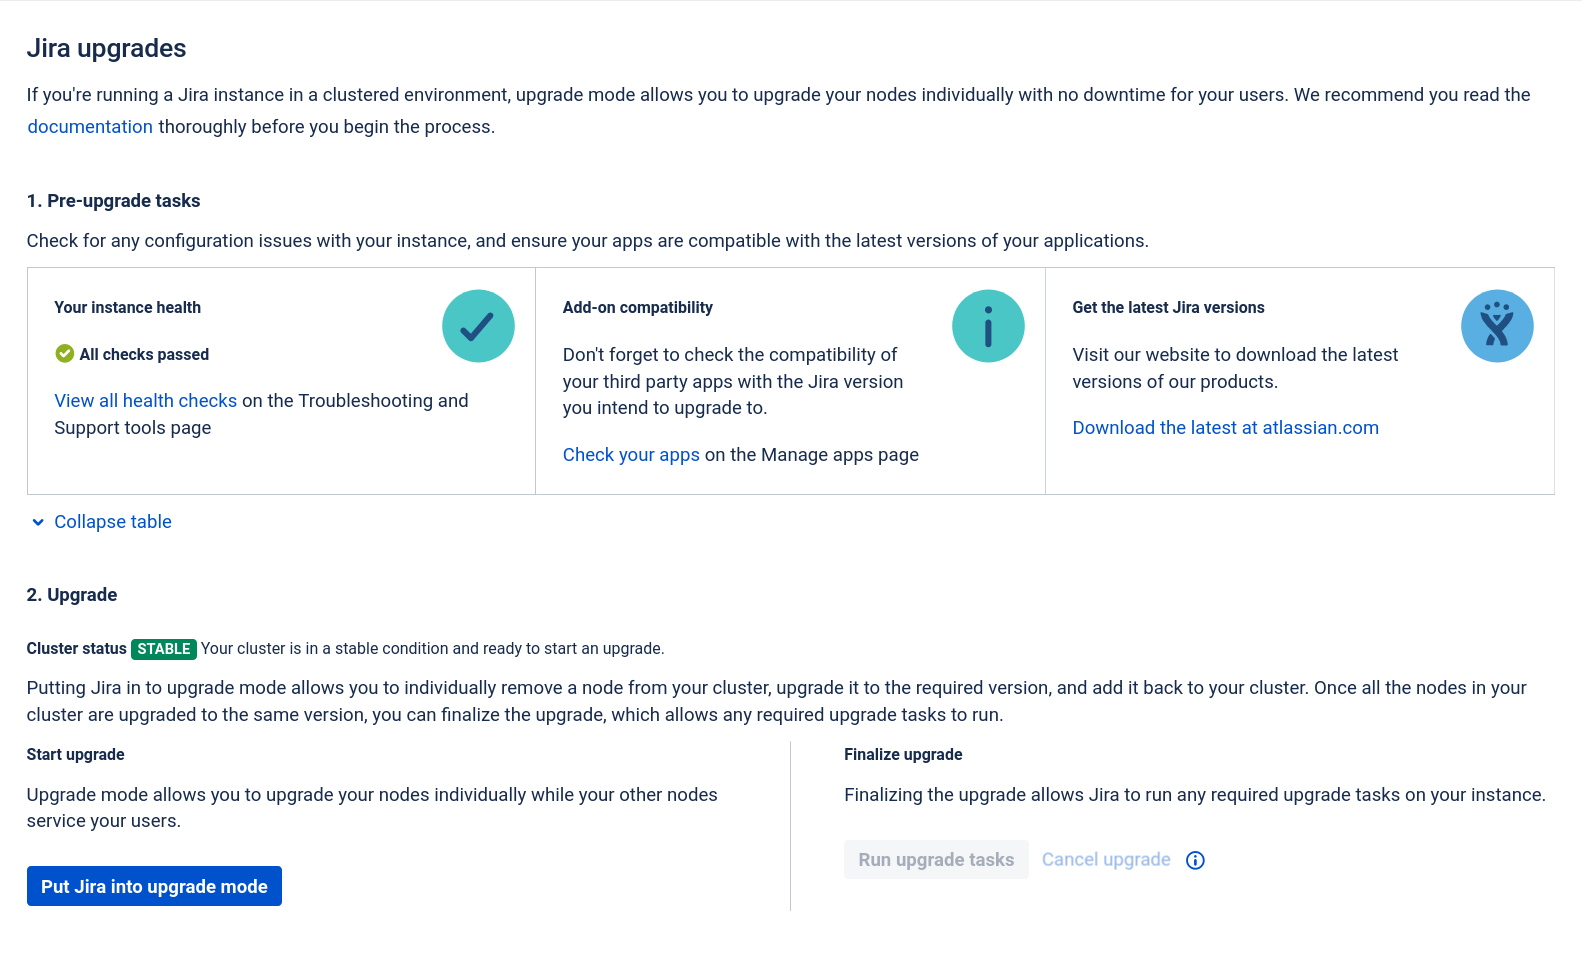
Upgrade
Upgrade strategy
- replicas 0(shutdown all Bamboo pod)
- Set
image.tag - Helm chart upgrade
- Bamboo statefulset scaling
Shutdown all Bamboo pod
kubectl scale statefulset --replicas 0 -n atlassian bambooSet image.tag
If you previously set image.tag but the APP VERSION matches the version you want to upgrade to, proceed with this step.
image:

  # -- The Docker Crowd Docker image to use
  # https://hub.docker.com/r/atlassian/crowd
  #
  repository: atlassian/crowd

  # -- Image pull policy
  #
  pullPolicy: IfNotPresent

  # -- The docker image tag to be used. Defaults to appVersion in Chart.yaml
  #
  tag: "10.2.7"
values.yaml
Helm chart
Bamboo version: 9.6.11 → 10.2.7
helm upgrade bamboo \
 atlassian-data-center/bamboo \
 -f values.yaml \
-n atlassianhelm upgrade, pods are created based on the replicaCount in values.yaml, and the first pod performs the upgrade task.The previous
--replicas 0 setting is ignored.

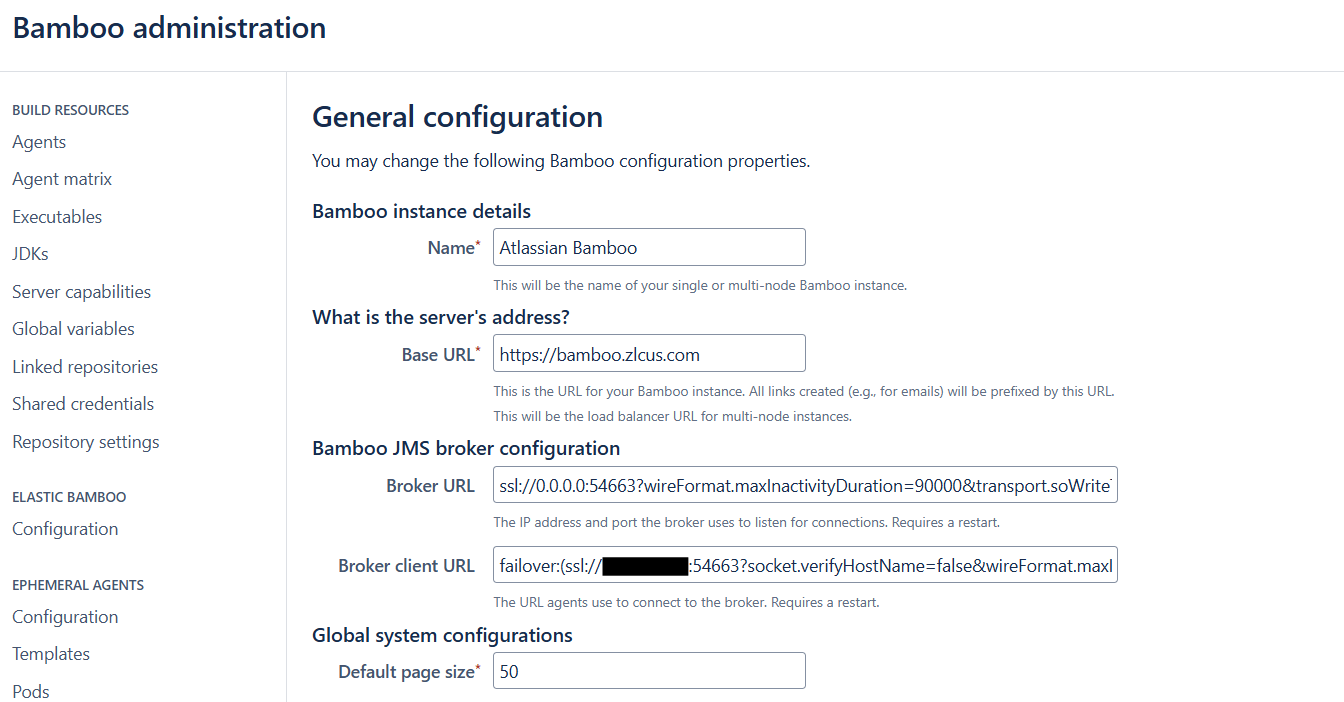
Bamboo Agent
In a Kubernetes environment, when registering a Remote Agent via JMS, you need to configure both the Broker URL and the Broker client URL to use SSL.
Reference